Getting Started with Music Production in Ableton Live
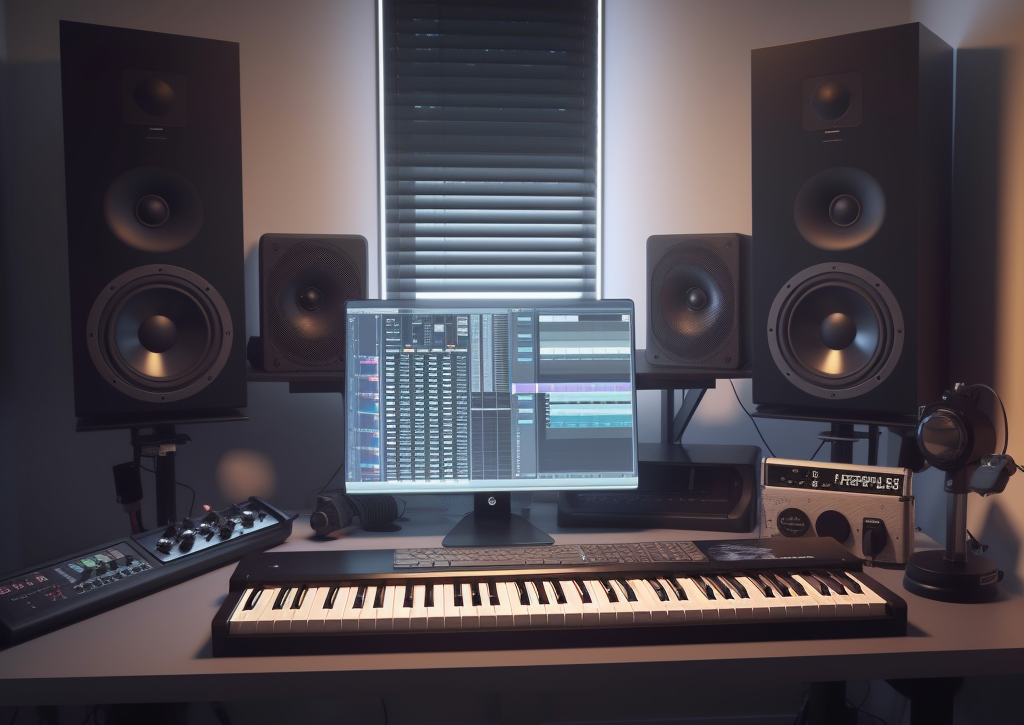
Ableton Live is one of the most popular digital audio workstations (DAWs) used for music production today. Whether you're just getting started or you're an experienced producer, Ableton Live has a lot to offer. In this article, we'll take a look at the basics of music production in Ableton Live and get you up and running with your first project.
-
Setting up Ableton Live
To get started with Ableton Live, you'll need to download and install the software on your computer. Once you have installed Ableton Live, open it up and you'll be presented with the main interface. On the left-hand side of the screen, you'll see the browser panel, which contains all of your audio files, effects, and instruments. On the right-hand side, you'll see the mixer and arrangement view. -
The Session View and the Arrangement View
Ableton Live features two main views: the Session View and the Arrangement View. The Session View is designed for live performances and improvisation, while the Arrangement View is used for recording and arranging your tracks. To switch between these views, simply click on the corresponding button in the top right corner of the screen. -
Working with Audio Clips
To start creating music in Ableton Live, you'll need to import some audio clips. You can do this by dragging and dropping audio files from your computer into the browser panel. Once you have imported your audio clips, you can start manipulating them using the various editing tools available in Ableton Live. You can adjust the volume, pan, and EQ of your audio clips, as well as add effects such as reverb, delay, and distortion. -
Using MIDI
MIDI is an essential part of music production in Ableton Live. MIDI stands for Musical Instrument Digital Interface and allows you to control virtual instruments and hardware synths using a MIDI controller or your computer keyboard. To start using MIDI in Ableton Live, simply create a new MIDI track and select a virtual instrument from the browser panel. You can then start playing your instrument using your MIDI controller or computer keyboard. -
Arranging Your Tracks
Once you have created your audio and MIDI clips, you can start arranging them in the Arrangement View. The Arrangement View allows you to create a full track by arranging your clips in a timeline. You can use the various editing tools available in Ableton Live to adjust the length and position of your clips, as well as add fades and crossfades between clips. -
Exporting Your Track
Once you have finished your track, you can export it as a WAV or MP3 file. To do this, simply go to File > Export Audio/Video and select the format and settings you want. You can also export individual tracks as stems, which can be useful if you want to mix and master your track in a separate program.
Conclusion: Music production with Ableton Live is a fascinating and rewarding process. With its powerful editing tools and intuitive interface, Ableton Live is an ideal platform for both beginners and experienced producers. Whether you're looking to create electronic dance music, hip hop beats, or experimental soundscapes, Ableton Live has everything you need to bring your musical vision to life.


1 comment
Info please